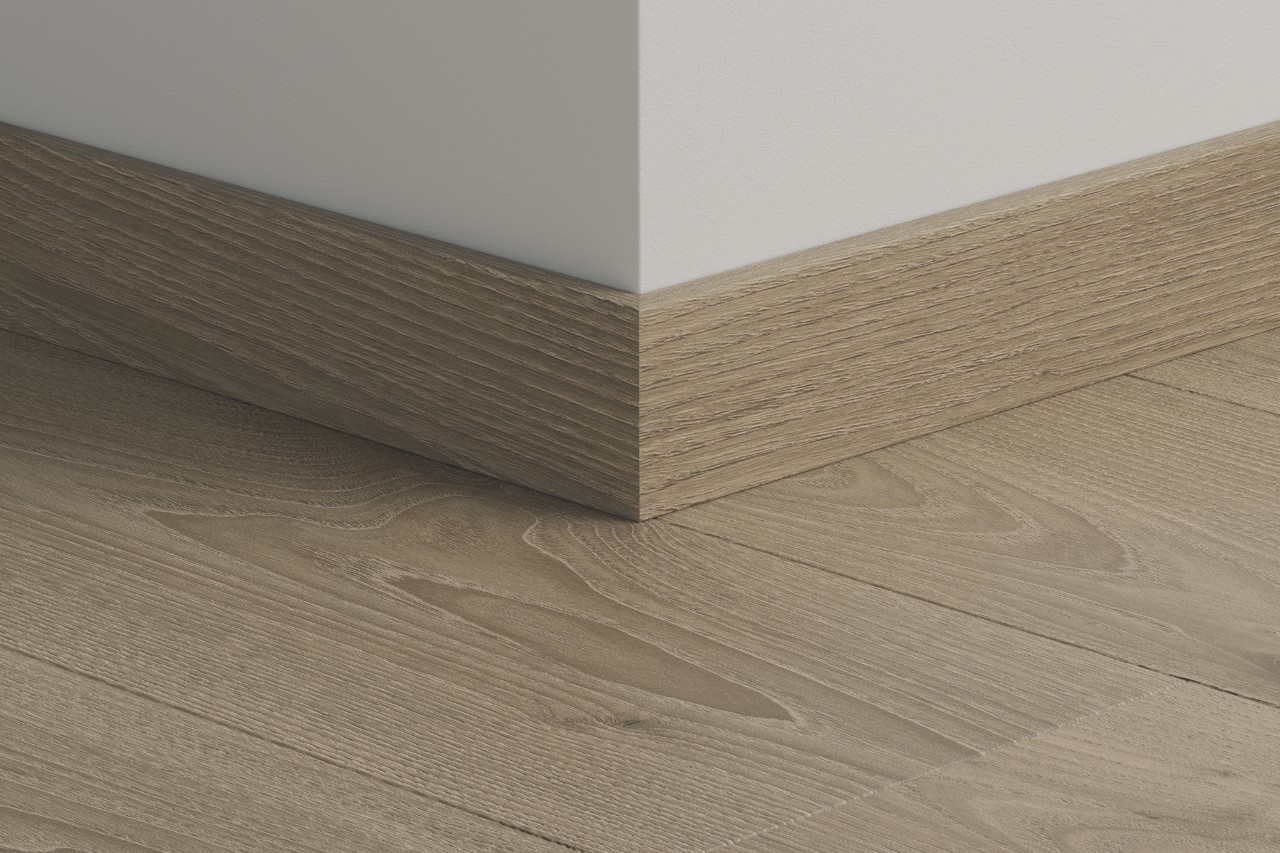
Hey there, ready to give your floors a nice finishing touch? Wooden floor skirting boards are a great way to cover any gaps between walls and floors, giving your space a polished look. In this article, we’ll walk you through the step-by-step process of installing wooden floor skirting in Dubai. Whether you’re a DIY pro or novice, with some basic tools and patience, you’ll be well on your way to upgrading your home in no time. Wooden floor skirting is an easy weekend project that can make a big impact. So roll up your sleeves, grab your supplies, and let’s get started!
Tips for Maintaining Your New Wooden Floor Skirtings
Now that you have your beautiful new wooden floor skirtings installed, it’s important to properly maintain them so they last for years to come.
Regular dusting and wiping down your skirtings is key. Use a soft, dry microfiber cloth or duster to gently remove built-up dust. For stuck-on debris, you can dampen the cloth slightly with water or a wood floor cleaner. Avoid using too much liquid, as excess moisture can damage the wood.
Vacuuming along skirting boards with the proper attachment can also help grab dust and dirt. Just be very careful not to scratch the wood with the vacuum.
For deeper cleans, use a specialized wood floor mop or cleaner and damp mop pad. Follow the directions to dilute the product and wipe skirtings in the direction of the grain using a light, even pressure. Never soak or flood your skirtings with liquid.
Protecting from Scratches and Dents
Wooden skirtings are prone to dents, scratches, and other damage, so take precautions. Use furniture sliders or pads under chair legs, table edges, and other heavy items that may bump into skirtings. This creates a buffer and allows furniture to glide smoothly instead of scraping across the wood.
Be very careful when moving furniture, appliances or other large/heavy objects across rooms with wooden skirtings. Have extra sets of hands to help lift and carry items so they do not bang into or rub along the skirtings.
Consider installing corner and edge guards in high-traffic areas. These pads absorb impact and prevent dings in corners and along edges. They are inexpensive, easy to apply and can save your skirtings from a lot of wear and tear.
Place protective pads under pet bowls, litter boxes, bedding, and any other pet items along walls with wooden skirtings. Pets can accidentally scratch skirtings, so it’s best to create a barrier between their things and the wood.
Controlling Humidity
Wooden skirtings can warp, crack and split when exposed to excess moisture or humidity over long periods of time. Use exhaust fans, air purifiers and dehumidifiers to keep indoor relative humidity within a moderate range, around 30 to 50 percent. This helps create an environment that is comfortable for you and ideal for wooden furnishings and accents.
During wet or rainy seasons, check skirtings regularly for any signs of water damage or moisture buildup. Wipe away any water spots or spills immediately to avoid water seeping into the wood. Small amounts of water that sit on or soak into skirtings can lead to irreparable damage. Staying on top of moisture control and quick cleanups is the best way to protect your investment.
Conclusion
You’ve now made it to the final stage of your wooden floor skirting installation project. Once the skirting boards are securely in place, you can stand back and admire your handiwork. The skirting boards add that polished, professional finish to your new wood floors. Not only do they improve the appearance, but they also protect the edges of the floors from damage. Installation may have seemed complicated at first, but by following the step-by-step process, you were able to complete it successfully. The key was taking your time and being meticulous with the measurements, cuts, and installation. Now you can enjoy your beautiful new wooden floors knowing the skirting boards are protecting them and enhancing your home’s decor. Congratulations on a job well done! You should feel proud of your accomplishment.

